Shared Team Wallet
Overview
The shared team wallet can be used for resolving issues impacting the Perps mainnet. For example It can be used for:
- Opening positions to validate the trading for a market.
- Validating liquidity deposits and withdrawals.
- Cranking manually if bots are not functioning correctly.
- Exchanging one cryptocurrency for another when a specific token is needed for testing or operational activities.
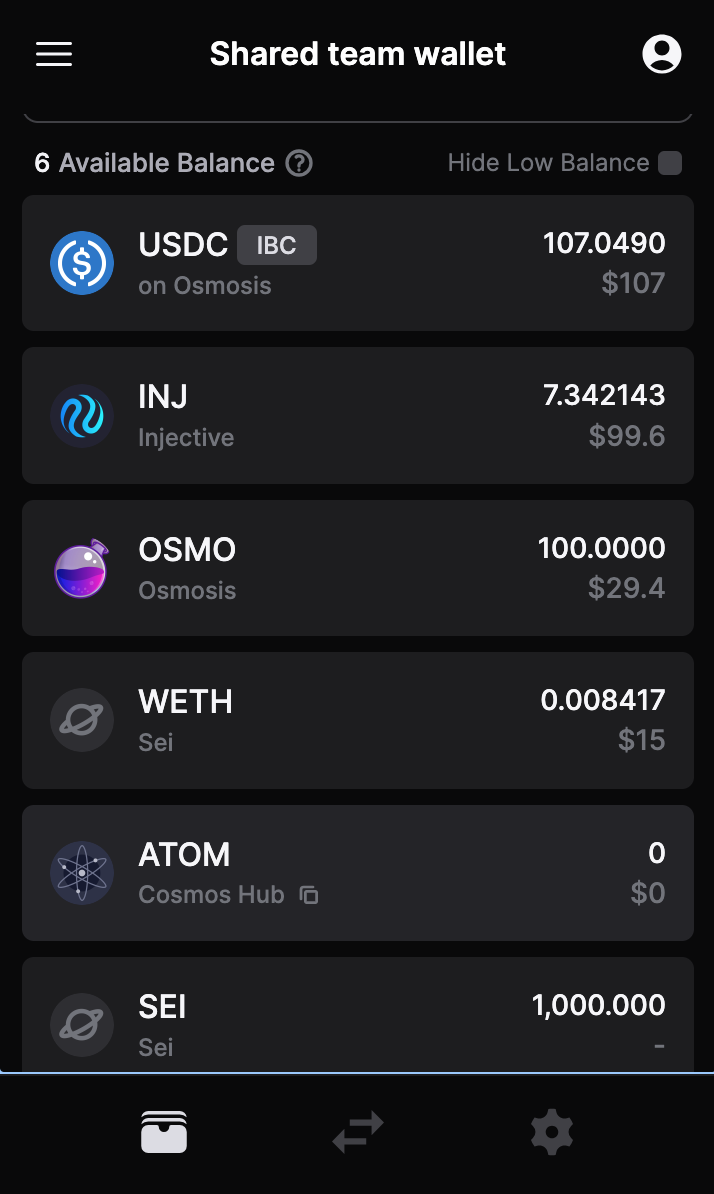
Wallet Snapshot
Following is the list of crypto available in shared team wallet
Accessing the Shared Team Wallet
Initiate Access Request
- Navigate to the Jira project titled 'User Feedback & Issues'.
- Create a new issue, selecting the type as 'Wallet Access'.
- Fill in all required fields, ensuring you provide a valid reason for needing access.
Receiving Access Credentials
- Once the issue is submitted, you will receive an email containing login credentials for Bitwarden. This email will be sent to the email address associated with your team profile.
- The email will provide you with a username and a unique password.
- Delete the email after accessing the credentials.
Logging into Bitwarden
- Once logged into Bitwarden with provided credentials, search for the item labeled 'Shared wallet seed'.
- You will find the seed phrase for the shared wallet.

Rules for Maintaining the Secrecy of the Wallet
No Direct Sharing: Do not share the seed phrase of the wallet directly with anyone, request them to follow the wallet access process described in this document.
Temporary Access: Access to the shared wallet should be considered temporary. Once your task is completed, avoid accessing the wallet unless it's necessary.
Report Suspicious Activity: If you notice any unauthorized or suspicious activity related to the shared wallet, report it immediately.
Things to keep in mind while testing
Use Minimal Amounts: While opening a position for validating try to use the smallest position size possible.
Close the position: Close the position immediately after verification, do not leave any test positions open for extended periods.
Withdraw Liquidity: If you need to verify a liquidity deposit, ensure you quickly return all deposited funds to the specified wallet
If a token needed for testing isn't in the wallet, exchange USDC for the necessary crypto. Please make sure to swap USDC for only the minimal amount required for testing.
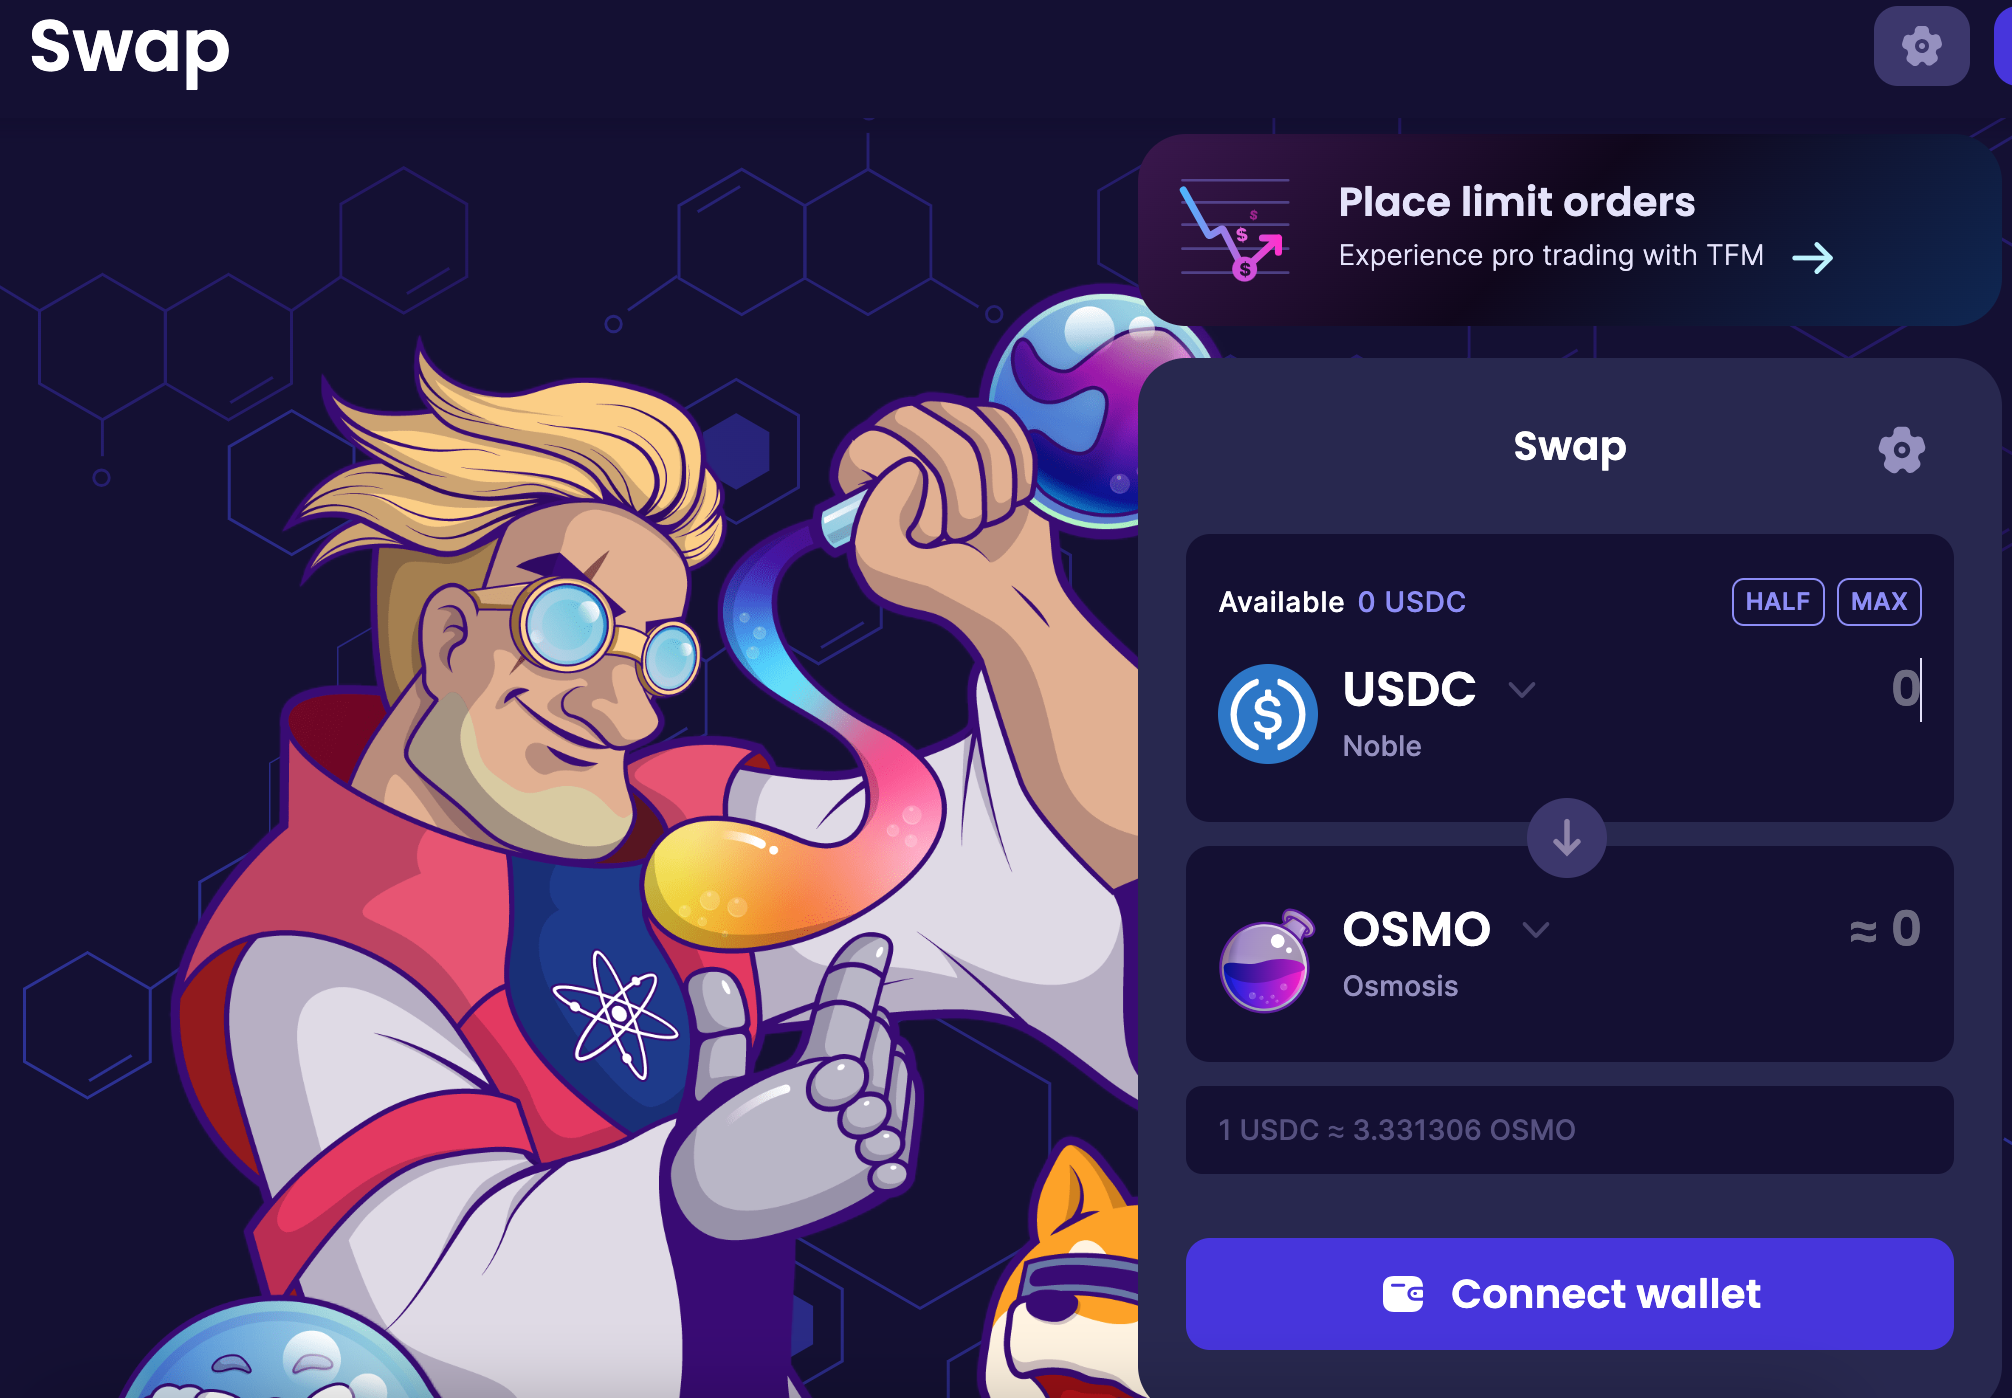
Swapping USDC for Required Tokens on Osmosis
Access and Connect
- Navigate to the Osmosis web interface.
- Connect the shared team wallet (ensuring only authorized personnel have access).
- In the platform dashboard, go to the 'Swap' section.
- Set USDC as your input (or "From") currency.
- For the output (or "To") section, choose the desired token you need for testing.
- Specify the amount of USDC you intend to swap. The platform will showcase the expected amount of the chosen token you should receive based on current rates.
- A confirmation prompt from the wallet will appear. Validate and confirm the transaction.
Once the network validates the transaction, the chosen token will be available in the shared team wallet, while the swapped USDC amount will be deducted.